Grr...... I'm having a bad day already - not like REALLY bad - but my car didn't start this morning and my boss had to come pick me up to bring me to work. Thank God I don't live far. Too far to walk in this COLD weather - if it was summer I would have walked.
And Matt had to teach this morning so he was gone before I left.
Now lets hope it's just the battery. I can't afford a new car for a few more years.
Oh and thanks Leah & Sarah for the comments on my Christmas card. That made me smile!
29 November 2007
26 November 2007
Happy Holidays
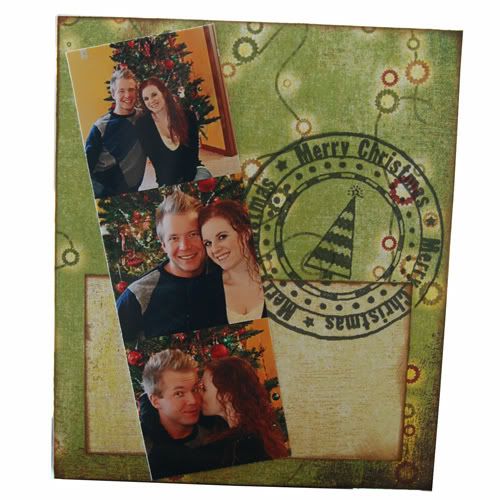
It's still November - but not for long. This month has FLOWN by. I thought October was never going to end and November just ran past. Not sure if that is good or bad yet! The holidays are coming quickly and I am ALMOST done with my Christmas Cards. I need black ink. Below is the card I need ink for. I made a photo card this year!! I actually have 2 different card designs. Less than the past years.
For the card below I used BasicGrey Fruitcake. Left over scraps from last year. I cut up as many 5 1/2" x 4 1/4" cards as I could and used scraps for the bottom strip. This one is a demo card. The rest are just waiting for photos.
My other card this year is using Scrapworks holiday line from last year. And I will use a christmas tree stamp with those.
I've already made 36 cards for my parents friend as well. Those are sent in the mail already. I think she should get them today or tomorrow!
Well enough rambling. Here is the card!

23 November 2007
Holiday Tags & Thanksgiving
Thanksgiving was wonderful this year. Matt & I spent time together (just the 2 of us) at home. We ate cheesy potatoes, put up our christmas tree (and decorated it), watched tv, looked at advertisments, and relaxed! It was a great day.
Here are some holiday gift tags i made yesterday

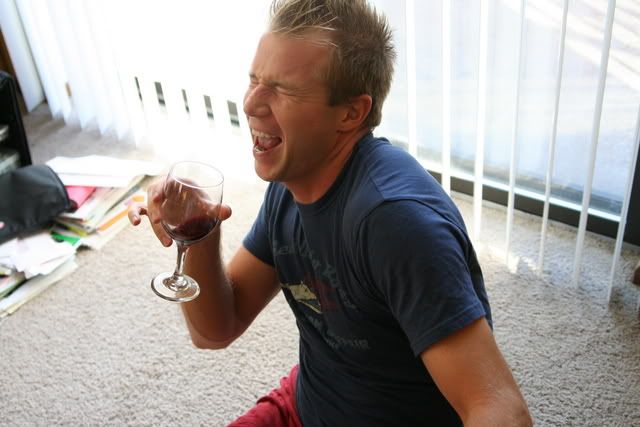
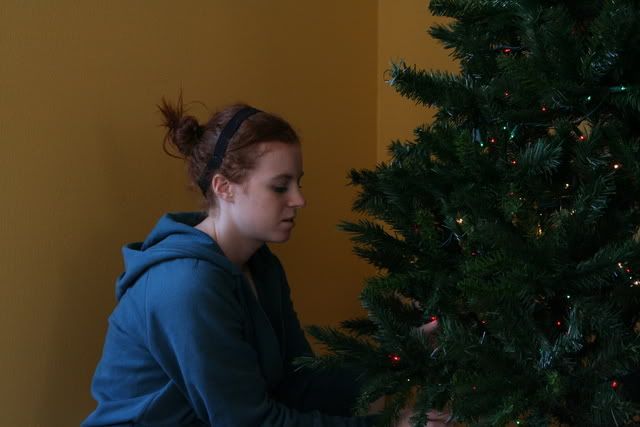
and here are some pictures of setting the tree up!!
Matt Singing into his wine glass
Me fixing the lights (Matt took this - even he can work my camera - sort of)
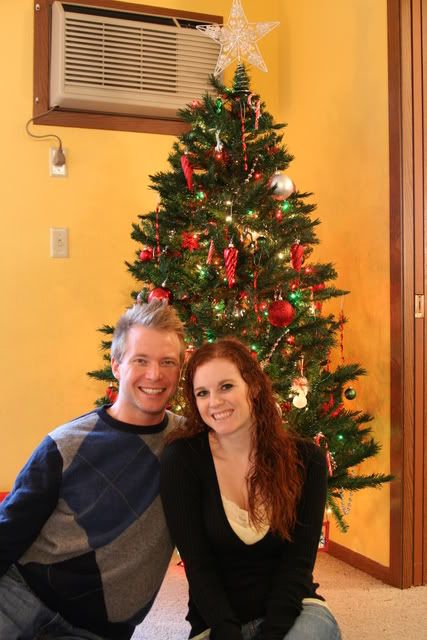
One of our Xmas pictures
Here are some holiday gift tags i made yesterday

and here are some pictures of setting the tree up!!
Matt Singing into his wine glass

Me fixing the lights (Matt took this - even he can work my camera - sort of)

One of our Xmas pictures

19 November 2007
Ornament Directions
Here are the directions for the ornament I made below (in the previous post).
Supplies
Glass bulbs - (the biggest ones) at Michaels (came in a case of 4)
Snowflake acrylic stamp
Ink (i used colorbox - not the chalk type - just regular it doesn't dry fast)
Glitter embossing powder
Heidi Swapp Acrylic Snowflake (i'm not sure if this is in her current line - i bought mine last year)
Heat Gun
Tweezers of some sort
Damp Paper Towel
Directions
Interior
Ink the Heidi Swapp acrylic snow flake piece with Red ink on one side (or any other color you would like to use). Sprinkle the glitter embossing powder on the snowflake. Tap off Excess.
With your tweezers hold a corner of the snowflake (embossing the snowflake with a heat gun gets hot - this will prevent burning yourself). With your heat gun set the embossing powder. WARNING: you are working with acrylic - it melts. So be patient and do a little at a time.
Once the embossing powder is set. Let cool, and repeat the process on the other side.
Exterior
Using an acrylic snowflake stamp, I place the stamp on a soft surface (to make stamping a round surface easier). Ink the stamp and carefully place the glass bulb on the stamp. Gently roll back in forth - being careful not to move the bulb from it's place (other wise the stamp will drag). I re-inked between each stamp. I stamped 1 - 2 images before applying embossing powder to make the process go a little faster. I inked and embossed 4-6 before I set the embossing powder.
Tip: Have a damp cloth or paper towel near by to wipe off any mistakes.
To Complete
Pierce a hole in the tip of the acrylic snowflake that will go inside. Thread clear or color thread through the hole. Place the snowflake inside. Since it is acrylic it is flexible - gently bend the edges to make it fit through the hole. Place the metal top piece back on the top and tie the thread to secure the snowflake around the metal loop.
To finish it off - tie a piece of ribbon around the metal loop to make it easy for hanging (this is not shown in my picture below).
If you have questions - let me know! :D
14 November 2007
Halloween & Christmas
Yes, sort of a weird combination...but hey "Nightmare Before Christmas" did well.
Here are a few projects I have been working on.
The ornament - for the holiday swap. This was my test one that my boss got for her birthday.
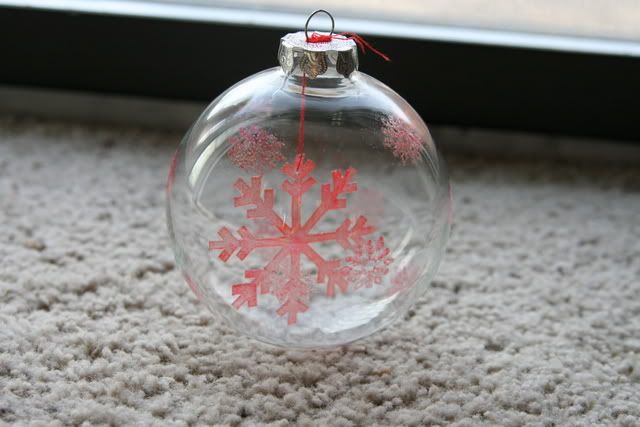
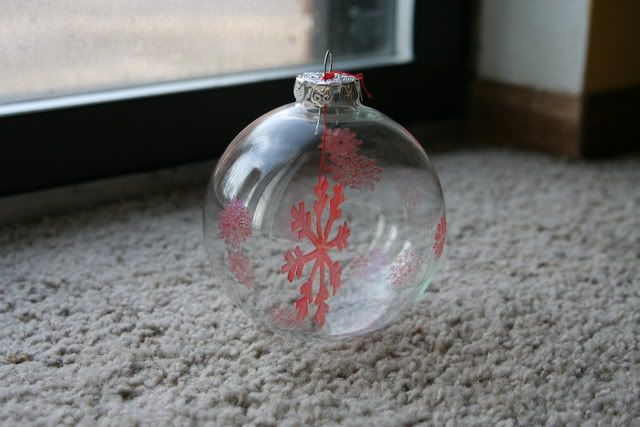
It is a clear glass ornament and I stamped on the outside and embossed. The inner snowflake started off clear acrylic and i inked and embossed
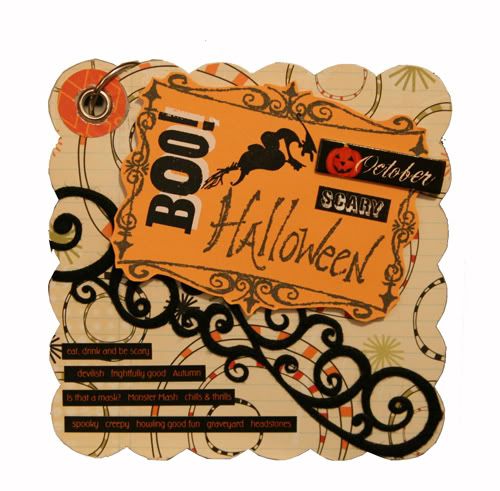
This second project is the cover of my halloween album. View my website for a supplies list. I will post more as I complete it.
Here are a few projects I have been working on.
The ornament - for the holiday swap. This was my test one that my boss got for her birthday.


It is a clear glass ornament and I stamped on the outside and embossed. The inner snowflake started off clear acrylic and i inked and embossed
This second project is the cover of my halloween album. View my website for a supplies list. I will post more as I complete it.

Baby It's Cold Outside
Yes, it is cold out side and we have snow flurries...eeks - ick!
I really can't believe it's already the middle of November, Thanksgiving is next week, and December will be here before we know it! This month is cruising by!
We've started Christmas Holiday rehearsals. First rehearsal "Soldiers". A famous tap number Matt's parents put together MANY years ago. It's not an easy one...and I have a lot of practicing to be doing.
I also made a ornament for the Holiday swap on the MW board. I hope to post soon. The first one (my trial one) I gave to my boss for her birthday - she LOVED it. So now i'm going to make more including one for my Secret Santa person I have, 1 for my grandma and 1 for my mom. Than I'll probably buy more and make some for myself! I will share soon.
okay i'll share more later and hopefully have pictures!
08 November 2007
Winter
It is sooo cold outside. brrrr...and i know it's not even close to the coldest it will be. But brrrr... i don't like winter! I'm sitting at the dance studio right now waiting for class - in my sweater, shorts (i'm going to jazz class), tights, leotard, legwarmers (made by my mom) and fingerless gloves (made by mom mom). It's FREEZING IN HERE!!!!!
Is it summer yet?
It's suppose to rain / snow tonight too...ick!
Is it summer yet?
It's suppose to rain / snow tonight too...ick!
07 November 2007
What to do....
EDIT - I'm fine now. I'm just an emotional girl (go figure)
I hate struggling with decisions I need to make. I don't really want to get into it too much - but I am just stuck and don't know what to do.
And today it is affecting work - since i can't think of anything else. BLEH!
I hate struggling with decisions I need to make. I don't really want to get into it too much - but I am just stuck and don't know what to do.
And today it is affecting work - since i can't think of anything else. BLEH!
04 November 2007
Roses
So Matt and I were suppose to have a "Date Night" last night. I haven't really seen him lately. I'm usually sleeping by the time he gets home. Well yesterday and friday he said he didn't have anything going on Saturday night. No rehearsals or anything. I was so excited. But, that was short lived. He had to go choreograph the finale at Concordia. He said he'd be done by 8:30pm - but that came and went. I went to bed around 11pm and he still wasn't home.
I woke up this morning and watched TV for a little bit and than went to go scrap. Well - look what I found on my scrapbook desk! With a sweet note (and icecream in the freezer!) - I LOVE icecream!
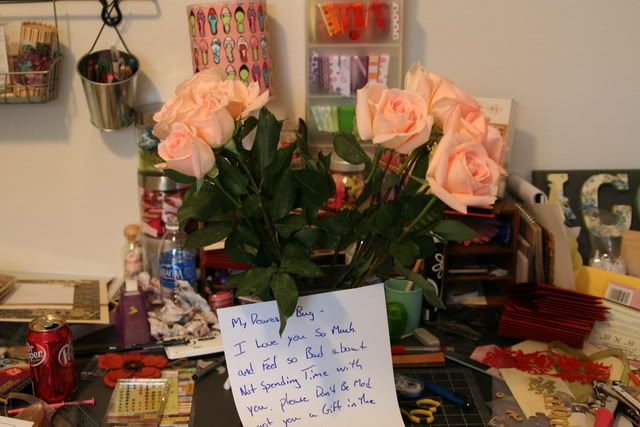
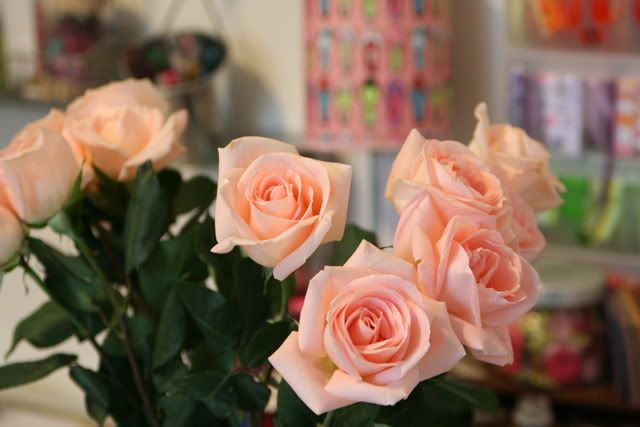

Aren't they pretty!!! :D
I woke up this morning and watched TV for a little bit and than went to go scrap. Well - look what I found on my scrapbook desk! With a sweet note (and icecream in the freezer!) - I LOVE icecream!


Aren't they pretty!!! :D
03 November 2007
4 hours
It took me 3 hours today to sort through all the pictures I took for "Spooky Ballets" and decide which ones will go on the photo CD. It took another hour to design the CD cover for both the booklet and CD itself (they are both the same design - the text is placed in different spots).
I'm really happy with the results. The cover design is below! The CD has MANY pictures on it! I think everyone will be pleased with it.
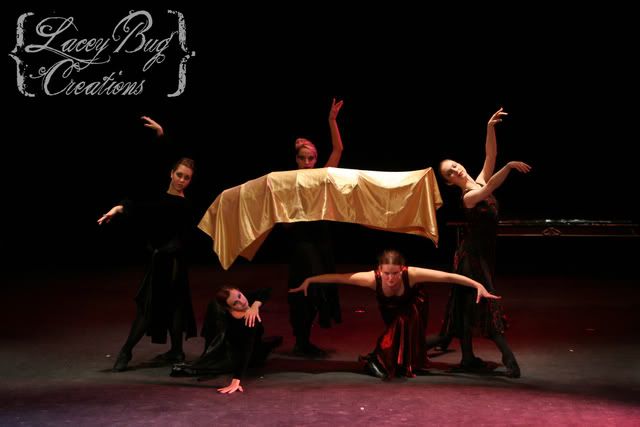
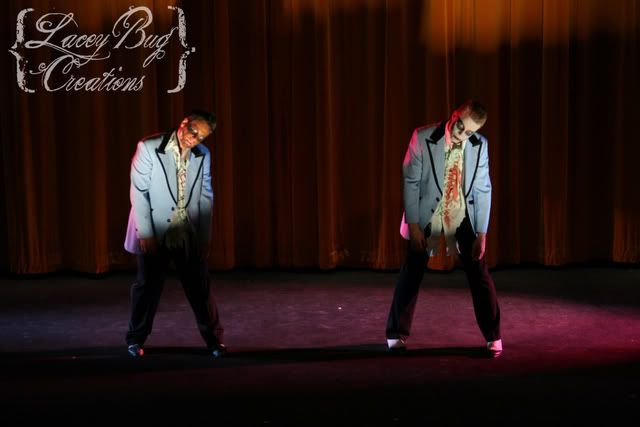
Below are more photos from the "Spooky Ballets"
CD COVER
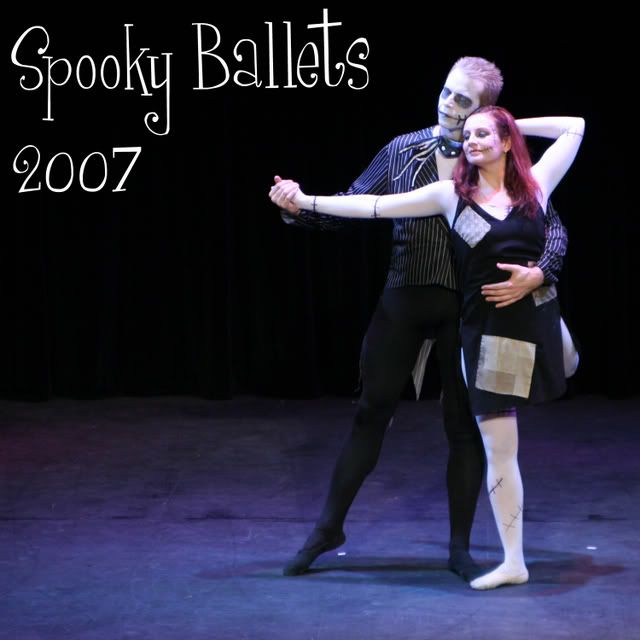
Witches: There was a magic trick during this number :D
Stepping Into the Bad Side: Patrick (Left), Matt (Right)
Nightmare Before Christmas: Halloween Town

I'm really happy with the results. The cover design is below! The CD has MANY pictures on it! I think everyone will be pleased with it.
Below are more photos from the "Spooky Ballets"
CD COVER

Witches: There was a magic trick during this number :D

Stepping Into the Bad Side: Patrick (Left), Matt (Right)

Nightmare Before Christmas: Halloween Town

Subscribe to:
Comments (Atom)
