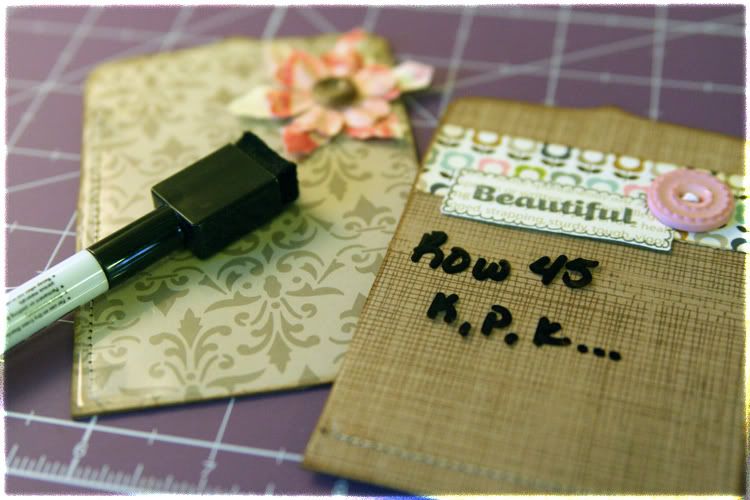
These tags are quick and simple to make and could be used for a variety of different things. I use mine to write reminders or to-do lists!
 Supplies
Paper
Tags (either make your own or buy pre-made ones)
Page Protectors or transparencies
Sewing machine (or needle & thread)
adhesive of your choice (I use liquid glue)
Wipe-board marker(s)
Instructions
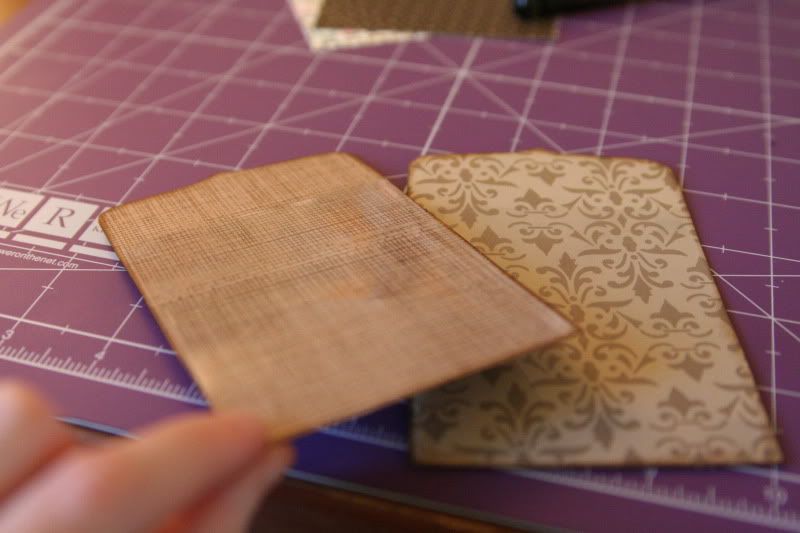
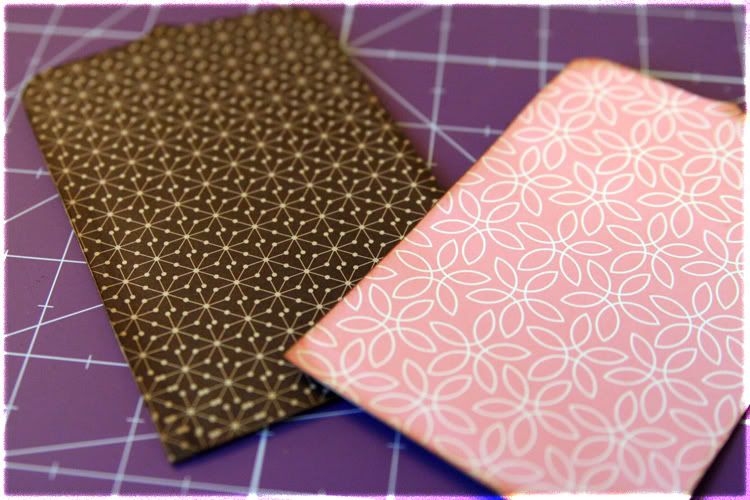
(1) Cover front side of your tag with pattern (or solid) paper of your choice. Pick a pattern that is not too busy.
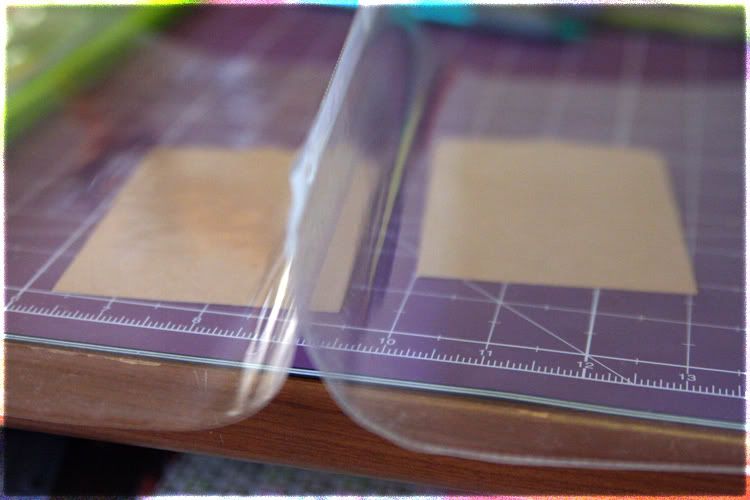
(2) Cut out a piece of page protector that covers the lower half of the tag (or the entire tag). I first cut mine apart so it was easier for me to cut the size I wanted.
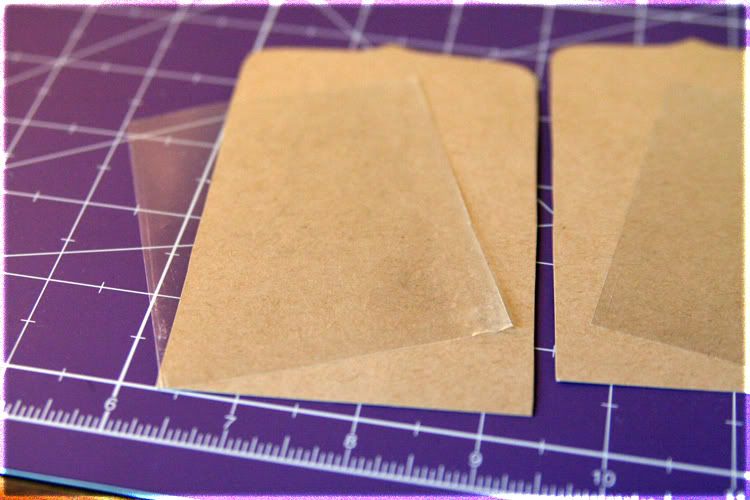
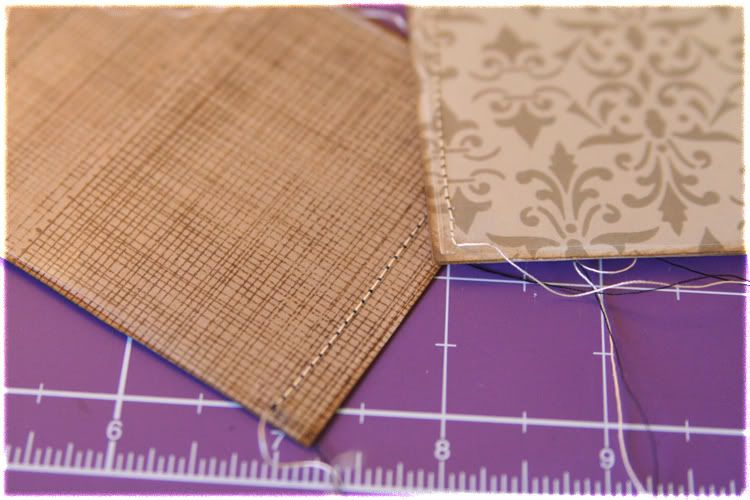
(3) Adhere the page protectors with a dab of adhesive in the corners, so it stays put when sewing. Sew the page protector to your tag. Note: I have found that sewing it on will keep it in place. I did not find a glue that would allow the page protector to stick to the tag for a considerable amount of time. If you find a glue that works, feel free to use that and leave me a comment to let me know what worked. Thanks.
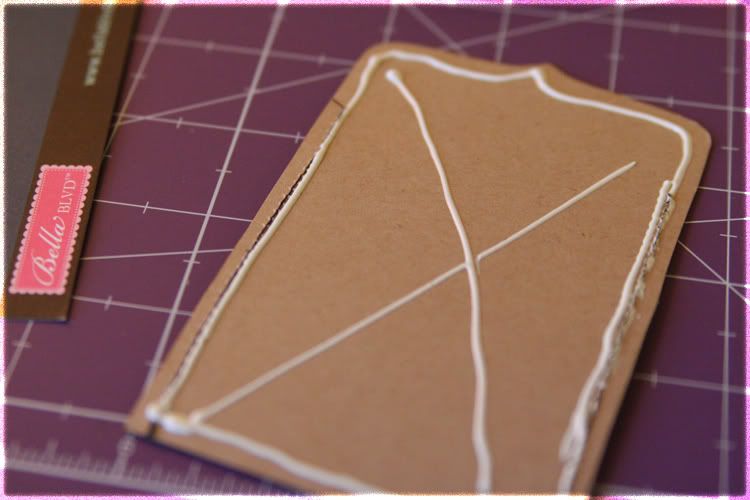
(4) Cover the backside of your tag with a coordinating piece of pattern (or solid) paper. I use liquid glue to adhere this piece.
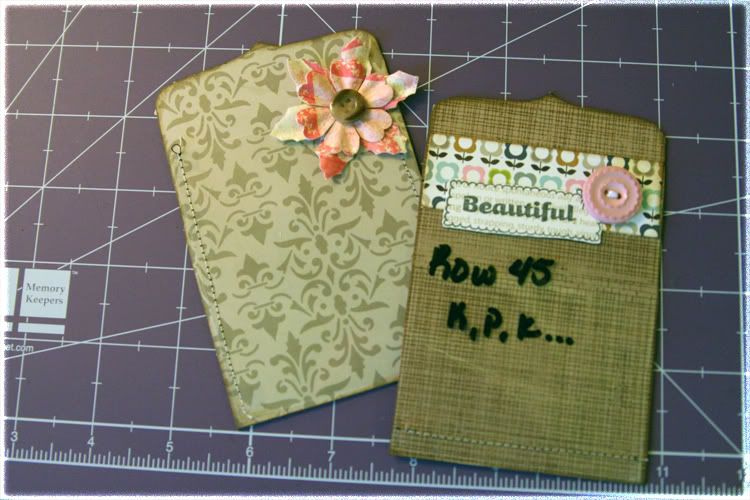
(5) Decorate as you please. You can use buttons, ribbons, etc.
Keep these tags in your car, around your phone, near your desk or give them as gifts! I plan on making a few for my knitting projects, since I sometimes need to write what row I left off on.
I created the ones above for my mom. When knitting often you have to write down notes or when you left off. I thought these were a cute option to do so.
I have also put these directions together in a PDF that you can print out and keep for your reference. Access the PDF here. Let me know if this link does not work. It is the same as the directions above.

No comments:
Post a Comment