I'm doing this! Yes, I said it. I'm attempting to put together a December Daily. Actually, the album is together, I just have to fill with journaling and photos! So I CAN do this! (
WARNING: Text Heavy Post)
Yesterday, MemoryWorks kicked off our final project -- December Daily. 9 out of 12 TeamWorks members are participating and everyone designed a different kit that fits their style. So there are 9 different personalities and styles to get inspiration from during December! We will post to the blog weekdays (Mon - Fri) until December 31.
I wanted to keep my December Daily - SIMPLE! I needed something that would work with my lifestyle. I don't have time for big layouts, I don't take enough pictures (daily) for lots of photo slots, so my album is a 4x6 album (well sort of).
If you want to see the full Kit that I put together, check out
THIS blog post.
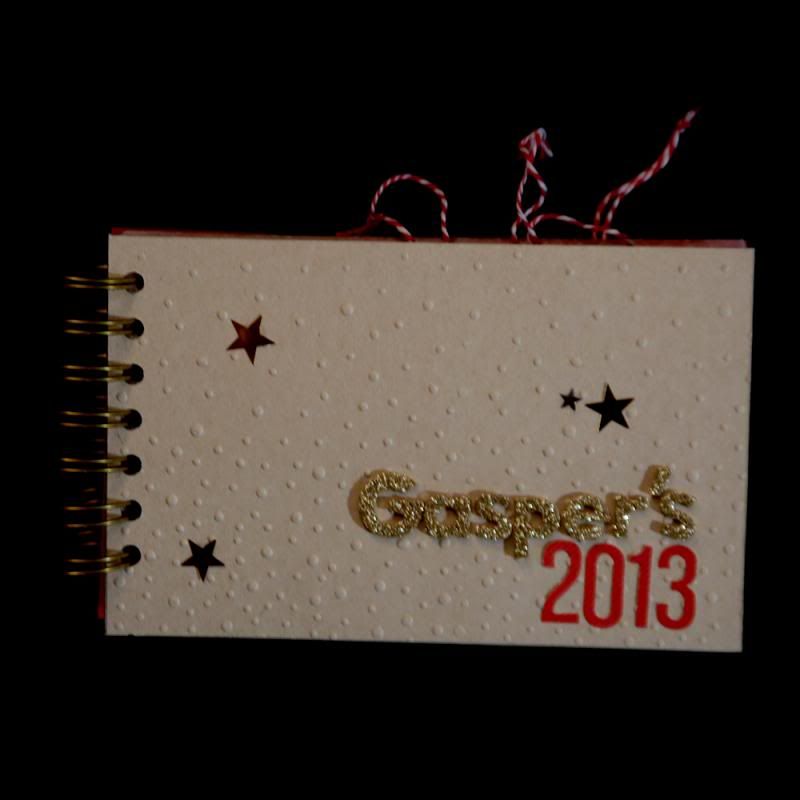
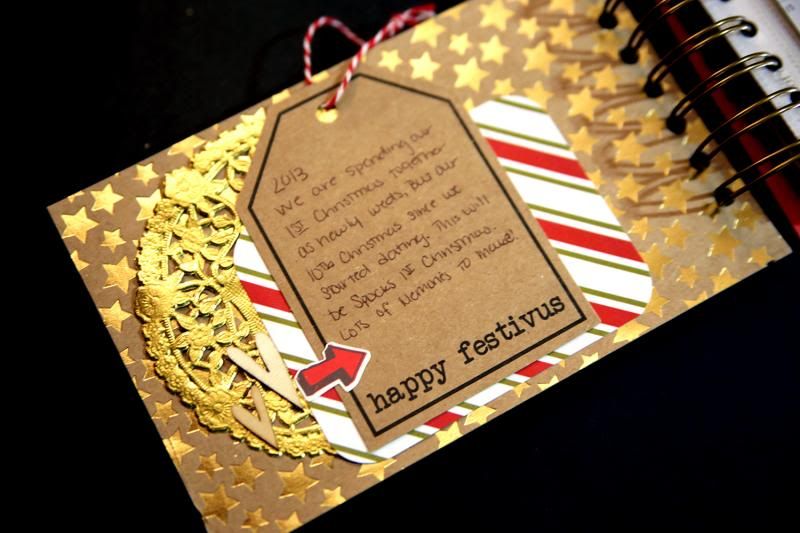
But first, let me show you the cover!
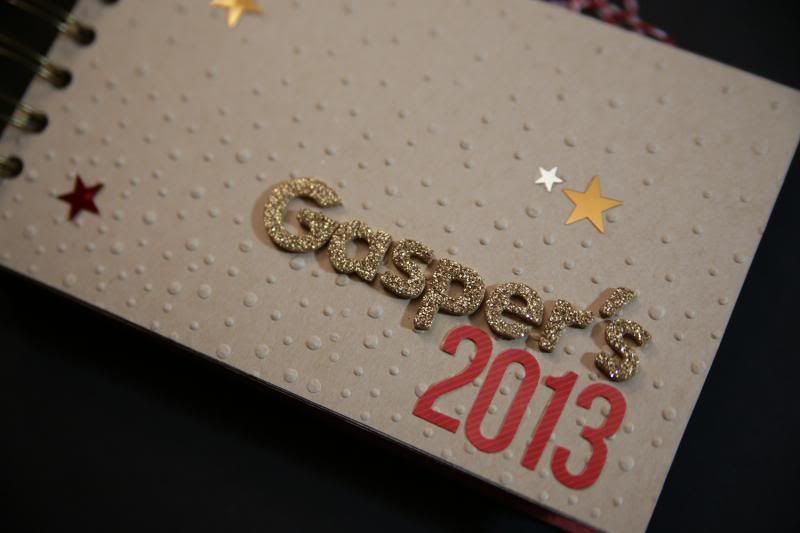
Cover Supplies: chipboard, American Crafts - Cardstock (Kraft), Studio Calico - Magical (Sequins, 6x12 Stickers); Gold Thickers (American Crafts), Embossing Folder
It is all shiny (and I'm a GASPER, I got married in July)!!!
So here is how it came together! Wait, before that, I need to talk about the interior pages.
INTERIOR PAGES
- I have some 3x4 / 4x6 Page protectors from Simple Stories, I cut them in half with my paper trimmer, cutting them above the 4x6 sleeve and below the (2) 3x4 sleeves (making sure I don't cut into them).
COVER
- Okay I cut the cover of my album to 7ish x 4.5ish.
- Measure the cut up page protector before you cut the cover. My cover is about the same size and since the page protector has the edge that has the holes for a binder (keep those), it makes them longer than 6".
- I used a lighter weight chipboard for my cover.
- The Kraft paper I used for the cover I put in an embossing folder to get it's texture and ran it through my manual die cutting machine.
- I covered one side of the chipboard with the Kraft paper and the opposite side (the inside piece) with a piece of pattern paper that I liked (Studio Calico Magical - Happy Holiday Joy).
ALBUM
Before I bound my album, I actually designed all the pages. 1 pack of the pages protectors mentioned above gave me about 20 spreads (sounds about right), but I needed 31 spreads (2 pages per day), so I mixed in some pages that are not in protectors by using cardstock. I inserted journaling cards, pattern paper and a few embellishments along the way and organized them the way I wanted (counting a few times to make sure I have enough pages).
Once I was comforable with the set up, I bound the album using my We R Memory Keepers Cinch machine.
I'm not ready to use my album, fill in with pictures, stories, memories, and stuff! This album is manageable for me.
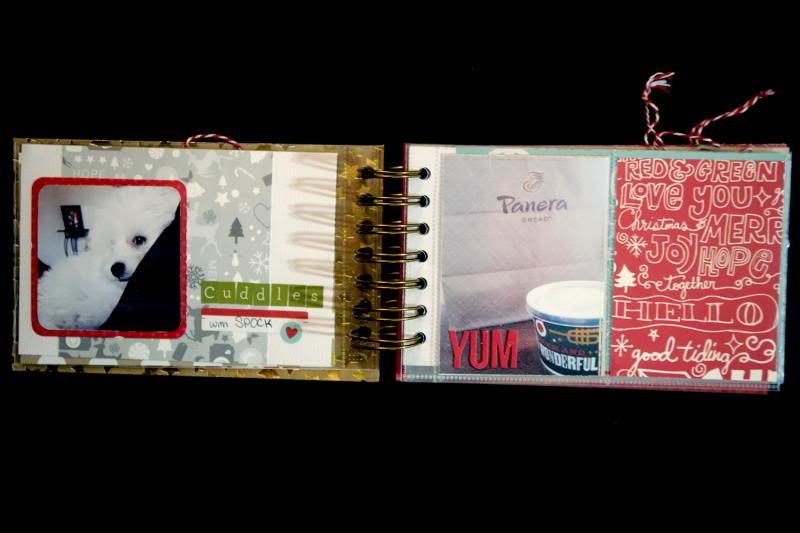
Now for a peek inside!
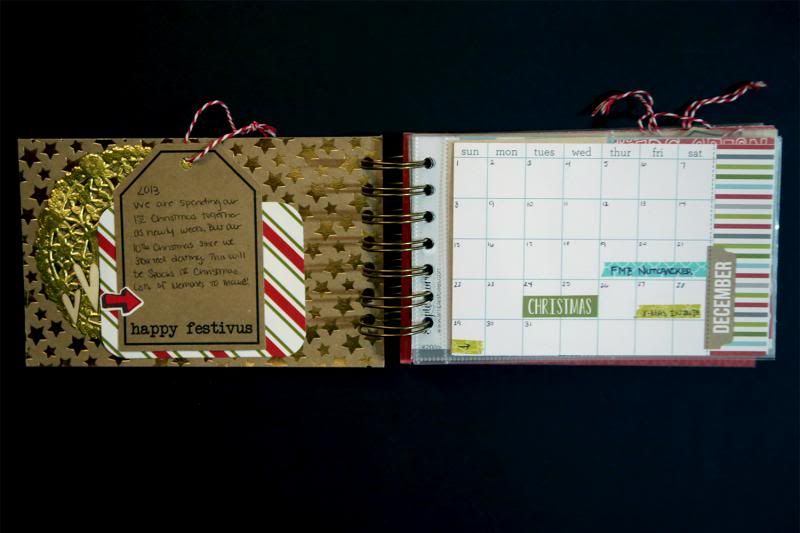
Inside cover and page 1. instead of starting my album on Day 1, I started it with a little opening message on the inside cover and a Calendar journaling card on page 1 (Simple Stories - Snap Set (
Christmas)). I added washi tape (which I wrote on) and stickers to jazz up the calendar and make it look like I actually do a little something in December :D
Close-ups
Stop by tomorrow to see the how this album is progressing!
Happy Tuesday!